Neapolitan pizza stands out in the vast world of pizzas, and for good reason.
Ever taken a bite and marveled at the contrast between its thin center and the light, airy crust? That’s the renowned pizza cornicione at work.
This article will spotlight the famed cornicione, the thicker outer edge that sets Neapolitan pizzas apart. Its distinct texture and flavor have turned it into a hallmark of this pizza style.
Join us as we dive into the reasons behind the global fame of Neapolitan pizza and the art of crafting its iconic Cornicione.
Whether you’re a pizza aficionado or just curious foodie, this is a journey you won’t want to miss.
In this article:
What is a Cornicione?
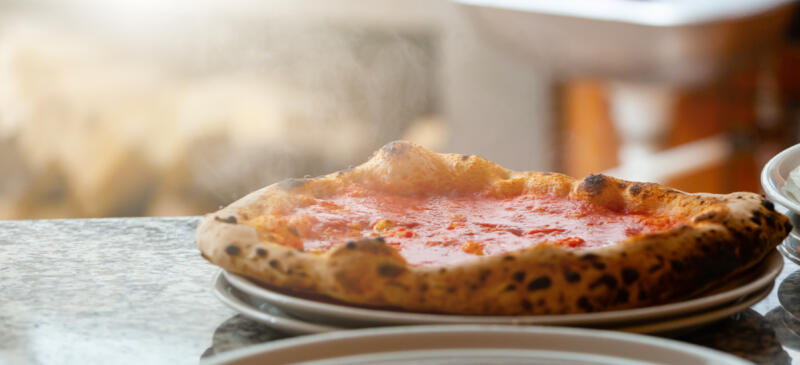
In Italian pizza culture, the “Cornicione” (pronounced “cor-nee-cho-neh”) is the distinctive thicker edge of Neapolitan pizzas, differentiating them from other varieties.
The Benefits of a Perfect Cornicione
Crafting a perfect Cornicione on a Neapolitan-style pizza is both an art and a science.
This outer edge of the pizza crust, when done right, offers a unique texture and taste that sets these pizzas apart from their counterparts.
Texture
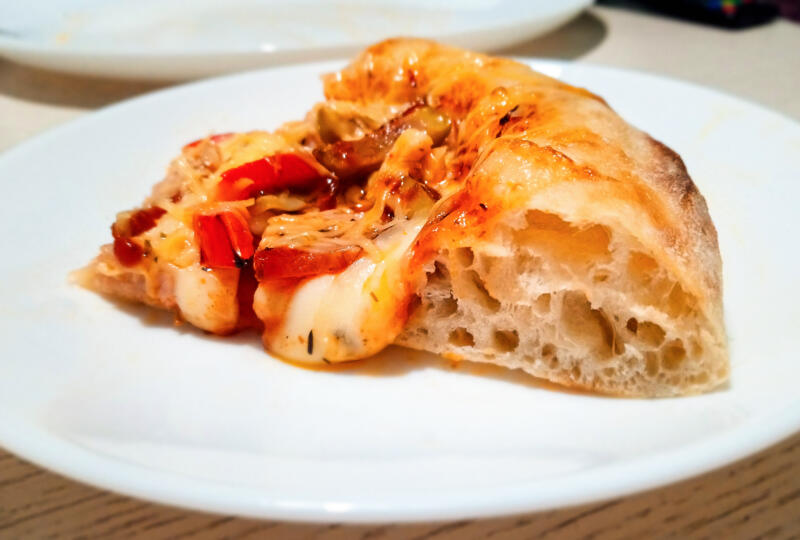
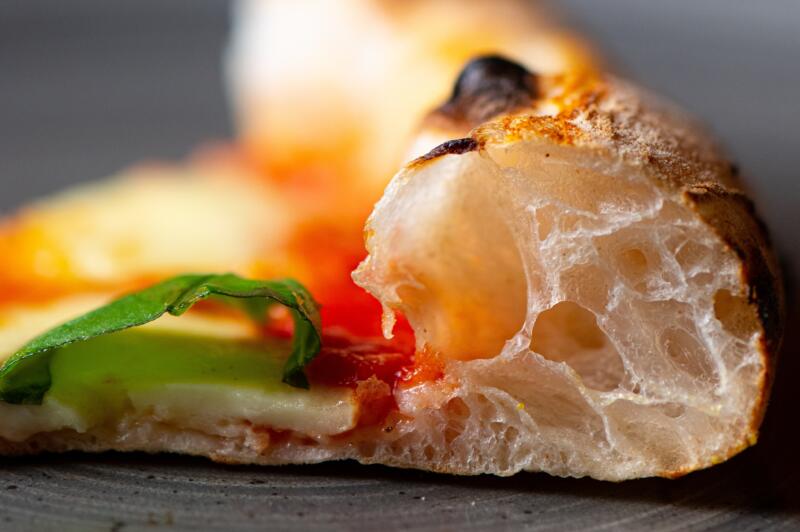
A well-made Cornicione is a delightful play of contrasts – light and airy on the inside, with a slightly crunchy exterior.
This balance of textures complements the thin, crisp middle section of the pizza, providing a gastronomic experience that is quintessentially Neapolitan.
The thickness of the Cornicione is a crucial aspect of its quality. It’s a delicate balance – too thin, and you lose the textural contrast; too thick, and it can turn doughy.
Mastering this balance is a testament to the pizza maker’s skill and experience.
Taste
The journey to a perfect Cornicione also involves the careful selection of ingredients and meticulous preparation of the dough.
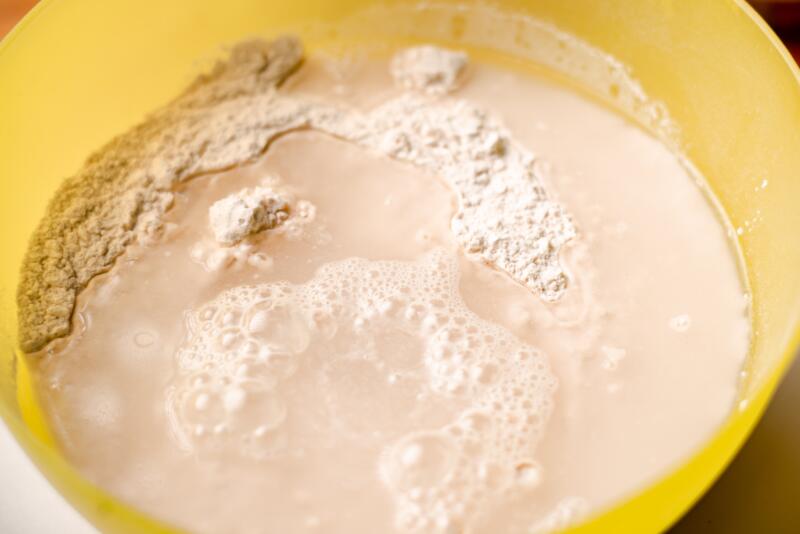
The basic ingredients – high-quality flour, water, yeast, and salt – need to be mixed and kneaded to the right consistency.
The fermentation process plays a significant role in its creation. A well-fermented dough develops complex flavors and a desirable texture, adding a depth of flavor to the Cornicione.
This process requires patience, but the result is a rich, slightly tangy Cornicione that’s a joy to bite into.
A Symbol of Authenticity
The next time you indulge in a Neapolitan-style pizza, pause to savor the Cornicione.
It’s not just a pizza crust – it’s a symbol of authenticity, a mark of quality, and a testament to the pizza maker’s skill.
Ingredients and Dough Prep
Creating a perfect Cornicione is a journey that begins with the right ingredients and a careful dough preparation process.
Let’s delve into each of these aspects in detail.
Flour Types and Gluten Content
The type of flour used can significantly impact the texture and flavor of your pizza crust.
For pizza, Italian-milled flours like Tipo 0 or Tipo 00 are often preferred.
Thanks to their abundant protein content, these flours promote the essential gluten development required for a chewy and elastic crust.
Several brands of pizza flour are approved by the AVPN (Associazione Verace Pizza Napoletana), an organization dedicated to preserving the standards of authentic Neapolitan pizza.
Some of these top brands include Grassi, Aguiaro, Caputo, and 5 Stagioni. Using an AVPN-approved flour ensures you’re starting with a high-quality base for your pizza dough.
Types of Yeast
Yeast is another critical ingredient in pizza dough. It’s responsible for the fermentation process that triggers the dough to expand, crafting the delightful light and airy texture we cherish in a well-crafted Cornicione.
For every variety of yeast one might consider using, there are specific pros and cons associated with it:
Fresh Yeast
Benefits: Imparts a rich flavor to the dough.
Drawbacks: Short shelf life, typically a few weeks.
Activation: Crumble it into lukewarm water (around 70°F or 21°C) with a pinch of sugar. Allow it to sit for 5-10 minutes until it becomes frothy.
Active Dry Yeast
Benefits: Stable and has a longer shelf life than fresh yeast.
Drawbacks: Requires activation before use.
Activation: Dissolve in warm water (around 105°F or 40°C) with a pinch of sugar. Allow it to rest for 5-10 minutes until it turns frothy.
Instant Yeast
Benefits: Convenient as it doesn’t need activation and can be mixed directly with flour.
Drawbacks: Might not provide as deep a flavor as fresh yeast.
Activation: No activation required. However, if you choose to proof it, use water temperatures of 120°F to 130°F (49°C to 54°C).
Fermentation Process
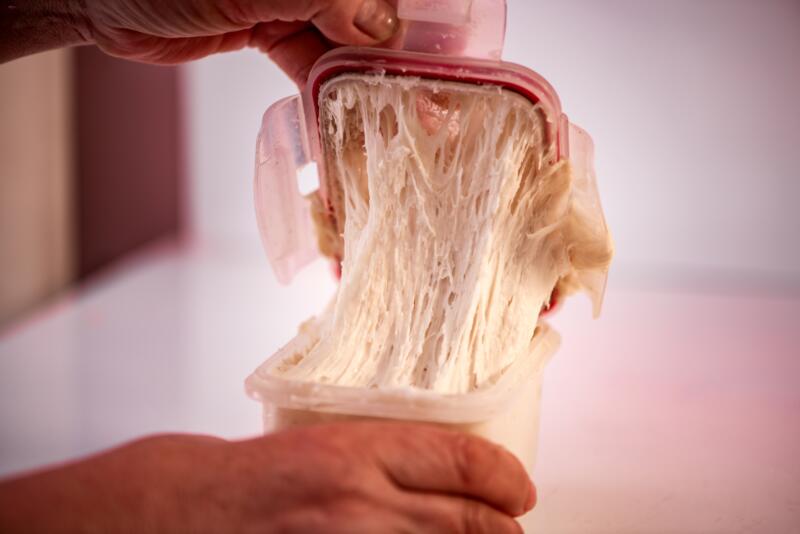
The fermentation process is essential in making Neapolitan pizza. During this time, yeast acts on the dough’s sugars, producing gas and forming air bubbles in the crust, crucial for the Cornicione’s light and airy texture.
For Neapolitan pizza, fermentation can range from 8 to 24 hours based on room temperature and flavor preferences.
However, using cold fermentation techniques, this period can extend beyond 24 hours, even up to 72 hours, resulting in a more flavorful and textured crust.
To determine if the dough is ready, it should have doubled in size and be filled with air bubbles.
The quality of your flour and the type of yeast you use can significantly impact the fermentation process.
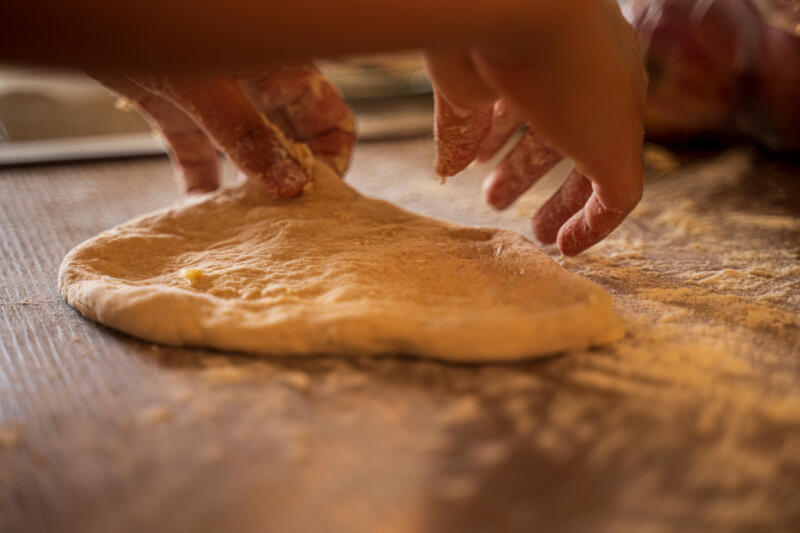
Rolling Out the Dough Ball
Once your dough has undergone fermentation, it’s time to begin rolling it out. This process involves shaping, stretching, and gently pushing bubbles towards the edge of the dough to form the Cornicione.
It’s a delicate process that requires a gentle touch to avoid deflating the dough.
Dividing the dough into individual balls and allowing them to rest before shaping can make the process easier.
Kneading should be minimal at this stage to preserve the air bubbles in the dough.
The edges are then folded and shaped to form the characteristic thicker edge of the Cornicione. This process is crucial in achieving the distinctive texture and appearance of a Neapolitan-style pizza.
Baking the Pizza
The baking process is just as crucial as the dough preparation in achieving a perfect Cornicione.
From prepping your baking surface to setting the right oven temperature and placing the pizza in the oven, each step plays a vital role in the outcome of your pizza.
Prepping the Stone or Steel for Baking
The first step in baking your pizza is to properly prepare your pizza stone or steel.
These surfaces are excellent for achieving a crispy, evenly baked pizza crust.
If you don’t have a pizza stone or steel, it’s a worthy investment for any pizza enthusiast.
Preheat your oven with the stone or steel inside for at least 45 minutes to 1 hour. This step ensures that your baking surface is hot enough to bake your pizza evenly and achieve a crispy crust.
Temperature Requirements for the Oven
The temperature of your oven is another critical factor in baking your pizza.
For a perfect Cornicione, your oven needs to be extremely hot.
Commercial and wood-fired pizza ovens can reach temperatures over 450°C, but you can achieve similar results in a home oven.
To do this, place your pizza stone or steel in the oven and preheat it at the highest setting for at least one hour.
This high heat will help your pizza cook evenly and give your Cornicione the perfect texture and flavor.
Baking Time and Rotating the Pizza
The baking duration for your pizza may differ based on your oven and the thickness of the crust. However, a good rule of thumb is to keep a close eye on your pizza while it’s in the oven.
The edges of the Cornicione should puff up and become golden brown, and the cheese should be bubbling and slightly caramelized.
For evenly cooked pizza, remember to rotate it regularly. This step is especially crucial if your oven has hot spots or if the heat isn’t evenly distributed.
By rotating your pizza, you ensure that every part of it gets the same exposure to the heat, resulting in a perfectly cooked Cornicione.
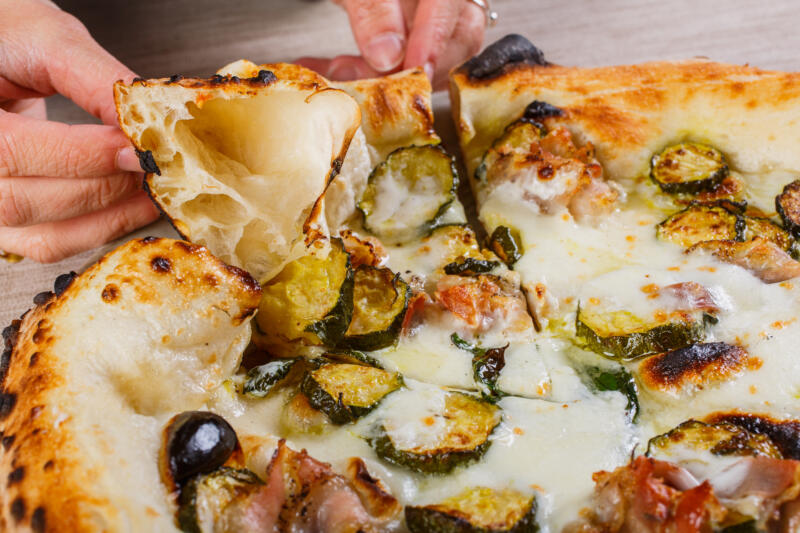
Finishing Touches to Get a Perfect Cornicione
Once your pizza is baked, there are a few final steps you can take to achieve the perfect Cornicione.
Brushing the edges of the dough with olive oil can give your Cornicione a beautiful, golden shine, and sprinkling it with a bit of salt can enhance the flavor.
A perfect Cornicione should be light and airy on the inside, with a slightly crunchy exterior.
It should have a rich, slightly tangy flavor from the fermentation process, and the texture should be chewy and satisfying.
Achieving this requires attention to detail and quality ingredients.
Using quality flour, stretching the dough to the right width, and baking at the right temperature are all crucial steps in this process.
Conclusion
Mastery of the perfect Cornicione is a journey of exploration and experimentation. It involves understanding ingredient nuances, the science of baking, and the art of pizza-making.
But most importantly, it’s about putting your learnings into action and experimenting with different ingredients and techniques.
So, whether you’re a seasoned pizza maker or a beginner just starting out, don’t be afraid to experiment.
Try different types of flour, play around with fermentation times, and tweak your baking process until you find what works best for you.
After all, the journey to the perfect Cornicione is as rewarding as the destination itself.