Ah, brownies! Who doesn’t love a good, fudgy square of chocolatey delight? But, as any brownie aficionado knows, cutting them cleanly can be a real challenge.
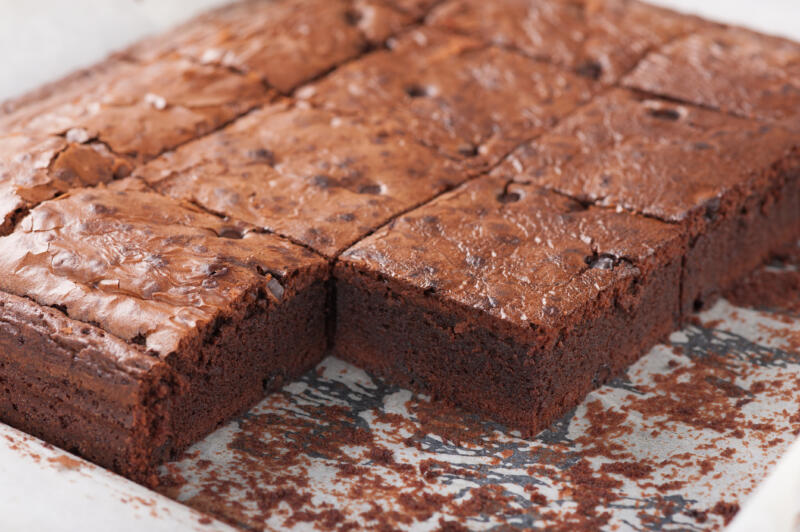
We’ve all been there: you’ve baked the perfect batch, only to end up with messy edges, brownie residue on the knife, and misshapen pieces.
It’s frustrating, to say the least. But fear not, this guide is here to help you conquer the art of cutting brownies cleanly.
Because, let’s face it, presentation matters and a cleanly cut brownie is just as important as its taste.
Highlights
- The Importance of Cooling: I learned the hard way that patience truly is a virtue when it comes to brownies. Allowing them to cool completely before cutting not only makes the process smoother but also results in cleaner cuts.
- Choosing the Right Tool: Who knew that the secret to perfect brownie squares could be as simple as using a plastic knife or a pizza cutter? These tools have been game-changers in my kitchen, cutting through brownies like butter and leaving no crumbs behind.
- Prep and Technique Matter: Lining the baking pan with parchment paper and lifting the entire slab of brownies out before cutting has simplified the cutting process immensely. Also, dipping the knife in hot water between cuts ensures a clean slice every time.
In this article:
Why Cooling Matters
It’s tempting to cut into your freshly baked brownies right out of the oven, but patience is key here.
Warm brownies are more likely to crumble and create messy edges.
Letting your brownies cool completely allows them to set properly, making them easier to cut.
This might require a bit of waiting, but the payoff of clean, sharp-edged brownies is worth it.
Choosing the Right Tool
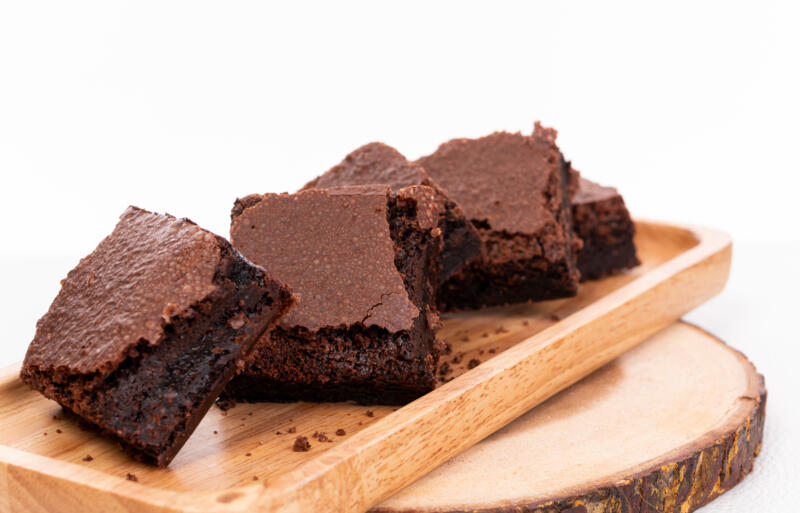
Knife
The type of knife you use can make a significant difference in the cleanliness of your cuts.
A regular knife might seem like the obvious choice, but it can often lead to squished and misshapen brownies.
A metal knife, especially if it’s the sharpest one in your drawer, can do a better job, but it’s still not the best choice.
Enter the serrated knife. Its saw-like edge can cut through the brownie’s crust without squishing the soft interior, making it a popular choice among brownie lovers.
But, surprisingly, it’s the humble plastic knife that often takes the crown. Why?
Because brownie doesn’t stick to plastic as much as it does to metal. This means cleaner cuts and less brownie residue on your knife.
Pizza Cutter
But the creativity doesn’t stop at knives. Some bakers swear by the pizza cutter for achieving perfect brownie squares.
Its rolling blade can cut through a whole batch of brownies quickly and cleanly, making it a great option if you’re serving a crowd.
Try out various tools and discover what suits you the most. After all, the journey of baking is just as significant as the final product.
Preparing the Brownies for Cutting
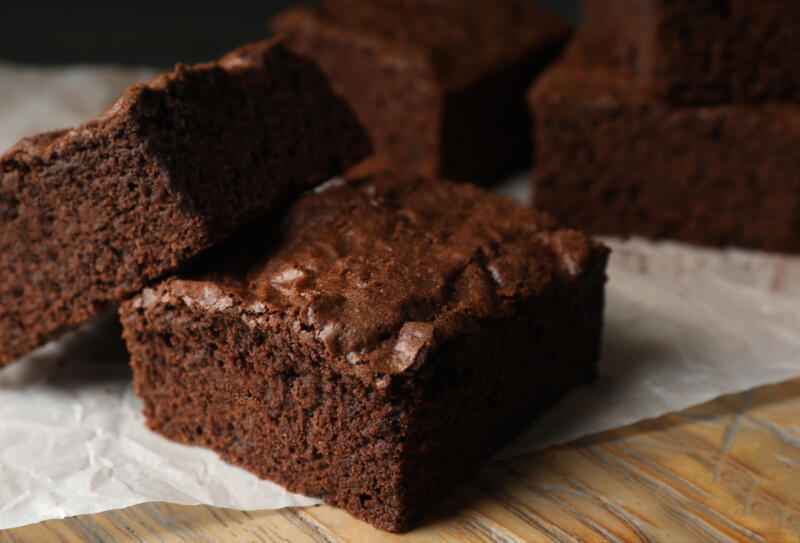
Before we even get to the cutting, there’s some prep work to be done. Using a parchment paper, silicon pan or aliminium foil to line your baking pan can be a game-changer.
It not only makes for easy removal of the baked brownies from the pan but also aids in clean cutting.
Simply remove the whole brownie sheet from the pan, and it’s set to be sliced. No more struggling with that first piece!
And don’t forget the cooking spray. A light coating on your lined pan can prevent the brownie batter from sticking, ensuring your brownies come out in one piece.
The Cutting Process
Now, let’s get down to the cutting. One popular method is the hot knife technique.
This involves heating your knife (yes, even the plastic one) under hot water, drying it off, and then making your cut.
The heat helps the knife glide through the brownies, resulting in clean, sharp edges.
When it comes to the actual cutting, resist the urge to drag your knife through the brownies.
Instead, press down firmly, then lift the knife straight up. This helps maintain the shape of your brownies and prevents the edges from tearing.
And here’s a pro tip: clean your knife after each cut. It may appear time-consuming, but the effort pays off. Leftover brownie bits on the knife can result in untidy slices, so clean it with a moist cloth or wash it with warm water after each cut.
With these tips in hand, you’re well on your way to achieving brownie-cutting perfection.
Achieving Perfect Shapes
So, you’ve mastered the art of the clean cut, but what about shapes? Square brownies are the classic choice, but who says you can’t get creative?
Cookie cutters can be a fun way to mix things up.
Hearts for Valentine’s Day, trees for Christmas, or stars for a birthday party – the possibilities are endless.
Just press the cutter into the cooled brownies and voila, brownies with a twist!
But whether you’re sticking with squares or going for something more adventurous, size matters.
For a more appealing dessert presentation, aim for equal-sized pieces.
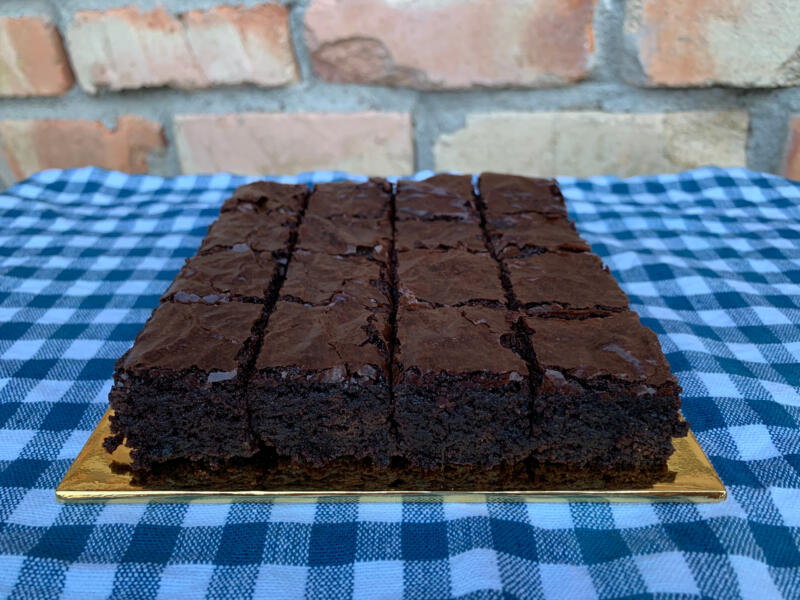
Start by cutting your sheet of brownies in half, then cut each half into equal parts. This way, everyone gets a fair share, and your dessert tray looks neat and inviting.
Tips for Cutting Fudgy Brownies
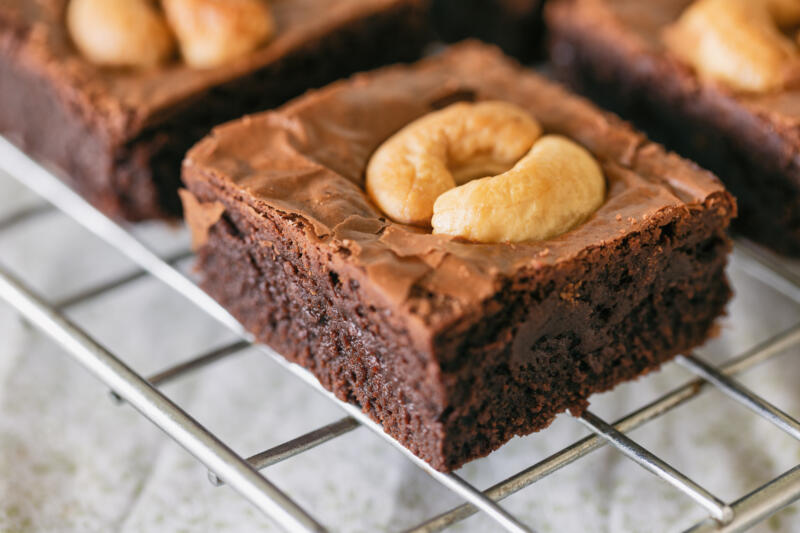
Fudgy brownies, with their dense, gooey centers, can be particularly tricky to cut cleanly. But don’t worry, we’ve got you covered.
As with regular brownies, a warm knife can work wonders. The heat helps cut through the fudginess without tearing the brownie. And remember to clean your knife between cuts.
For fudgy brownies, a paper towel can be more effective than a damp cloth, as it helps remove the sticky residue. With these tips, even the fudgiest of brownies won’t stand in your way.
Closing Thoughts
We’ve covered a lot of ground in this guide, from the importance of the cooling process and choosing the right tool, to the cutting process and achieving perfect shapes.
Remember, baking is as much about the process as it is about the end result.
The next time you whip up some brownies, test out these techniques. The impact they have might astonish you.
And as always, we’d love to hear your thoughts. Have a question or a brownie-cutting tip of your own?
Leave a comment below!